
Laser Removal Safety Factors – How to choose right power, wavelength etc.
Ok, now we move on to the next topic, where we will figure out how to choose the right laser power, which nozzle to use, how to safely remove the pigment so as not to injure the skin.
I also would like to tell you that this course is not just my speculation, my personal opinion, etc. This is an adapted course collected from a large amount of literature devoted to laser permanent makeup and tattoo removal. I think that you can find evidence of this information in various scientific articles.
For each patient, individual parameters are always selected: the power and focus of the laser beam to achieve optimal results. I can not say exactly what power you need to choose. All because we all have totally different lasers, whose characteristics are not the same. Different crystals, pump lamps, and if I tell you that you need to remove the pigment at such power and from such a distance it will simply be incorrect. Perhaps it will help someone, and it might hurt someone else. Therefore, it is better to practice with the laser to understand how it will work more effectively. We will talk about this further and I will show you how to do it.
In addition to the hardware, there is also a dependence on the amount of pigment, pigment color, skin type, location, etc. All this affects the final result.
Let’s get started.
- The technique of the procedure directly affects the safety of laser removal for the patient.
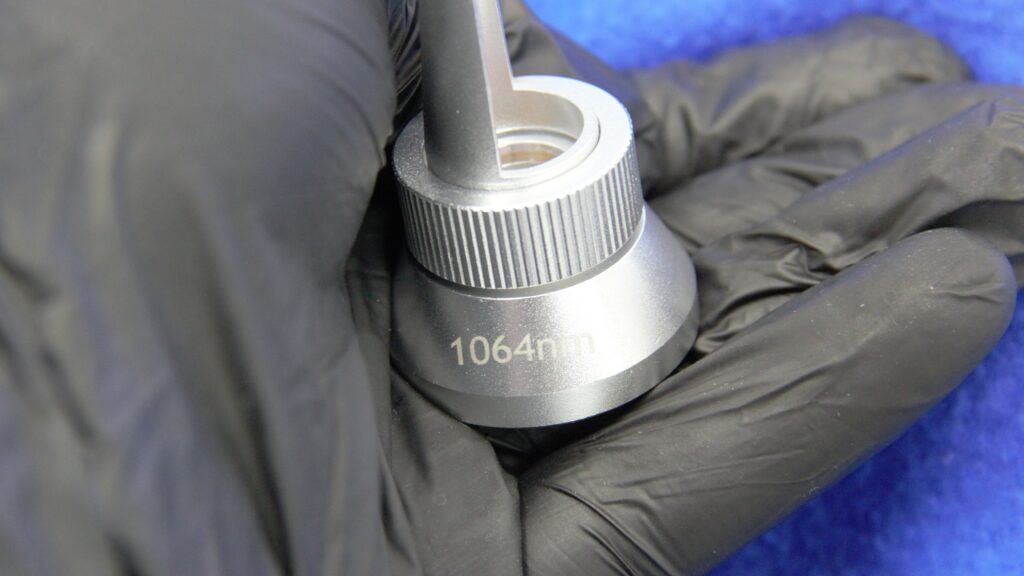
Usually, 2 or 3 nozzles are included with the laser device:
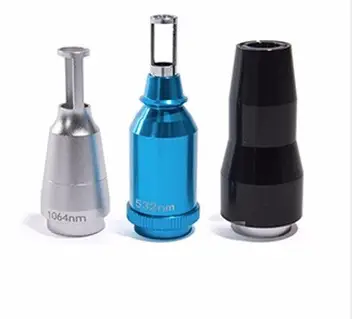
1064 nm, 532 nm, and 755 nm nozzle is possible for carbon peeling
In the previous lesson, we figured out that the Nd: YAG laser generates a wavelength of 1064 nm, so where does 532 nm come from?
Let’s take a closer look at these nozzles
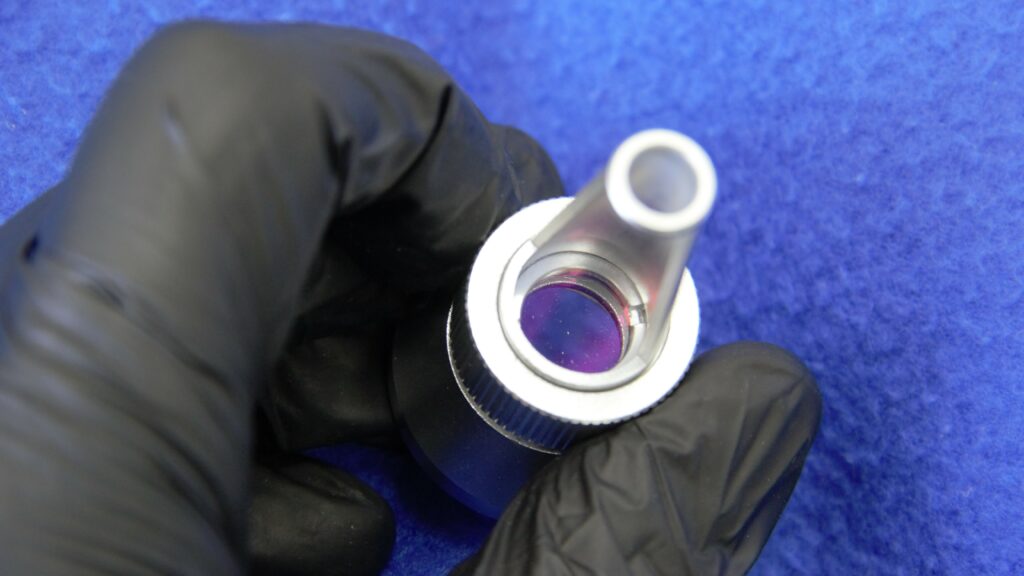
it has a regular lens (magnifying glass)
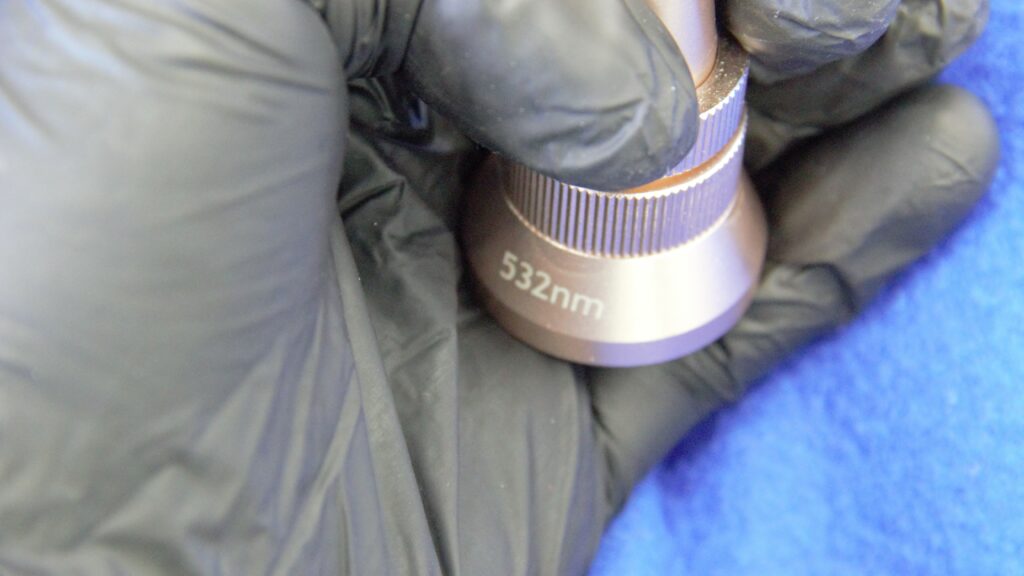
Perhaps someone noticed that on lasers it is written Nd: YAG Q-Switched KTP. KTP is this little crystal. You need to understand that a wavelength of 532 nm is obtained only by passing through a given nozzle with a crystal. Loosely speaking, this crystal divides the initial length of 1064 in half. In another way, the wavelength of 532 nm you will not get.
When you turn on some Nd: YAG Q-switched lasers, a large beautiful menu appears. Removal of permanent makeup, tattoo, 532, 1064, etc. But I want to say that clicking on any of these menus does not change anything, no superstructures or super impulses, the wavelength changes only by the nozzle.
It’s just a more beautiful interface and mostly made for customers, but not for you as a professional.
The laser controls only two parameters
- Hz – the number of flashes per second
- mJ – power flash
Next, you take either the nozzle 532 nm or 1064 nm.
Now let’s look at why we need these two wavelengths?

Each wavelength must match our target
The wavelength of 1064 nm is well absorbed by black cool pigments.
Red, brown, yellowish shades, all that is closer to the red spectrum is well absorbed by the wavelength of 532 nm
Such an important moment!!!
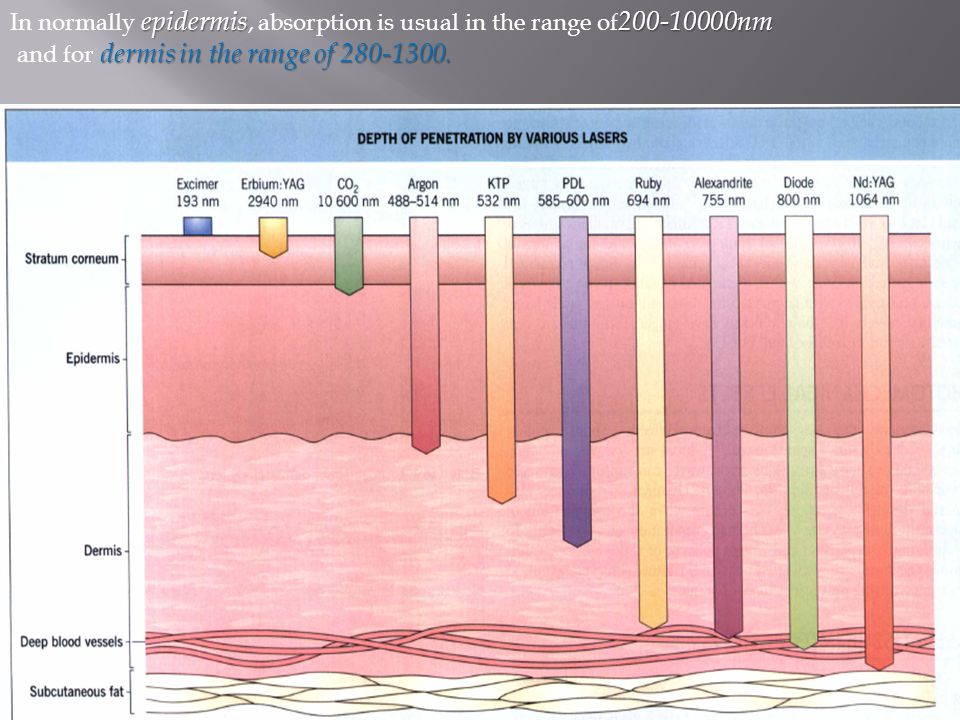
The wavelength of 1064 nm is practically invisible to the eye because is closer to the infrared spectrum, and some artists say that it is possible to work without eye protectors!! This is absolutely wrong since it is dangerous radiation, bad for the eyes. And if we do not see it and it’s relatively comfortable for us to work with it, it does not mean that there is no powerful laser radiation. The infrared range is dangerous to the retina.
532 nm is the visible range of light – bright green, similar to the light when welding and it is almost impossible to look at it without glasses because of very bright flashes.
Let’s sum up the information:
1064 nm – cool colors, black
532 nm – red, warm colors.
At the same time, if we work out a wave of 1064 nm on red, nothing bad happens, but the effect will be almost invisible
Let’s do an experiment:
Take the red and black colors and shoot them with a laser
Black color absorbs almost all wavelengths, red is not.
Why don’t we work with the nozzle 532 on black? Does it have a better effect on black in our experiment?
I would like to show you a little distinction.
KTP 532 nm is absorbed better but penetrates less tissue than 1064 nm. Respectively, it will remove the pigment laid deep worse.
The wavelength of 532 nm is more traumatic for our skin, even without the pigment in it.
Here we have such moments.
If the red color lies deep in the skin, then there is a very small chance that we will be able to remove it.
Other facts about wavelength
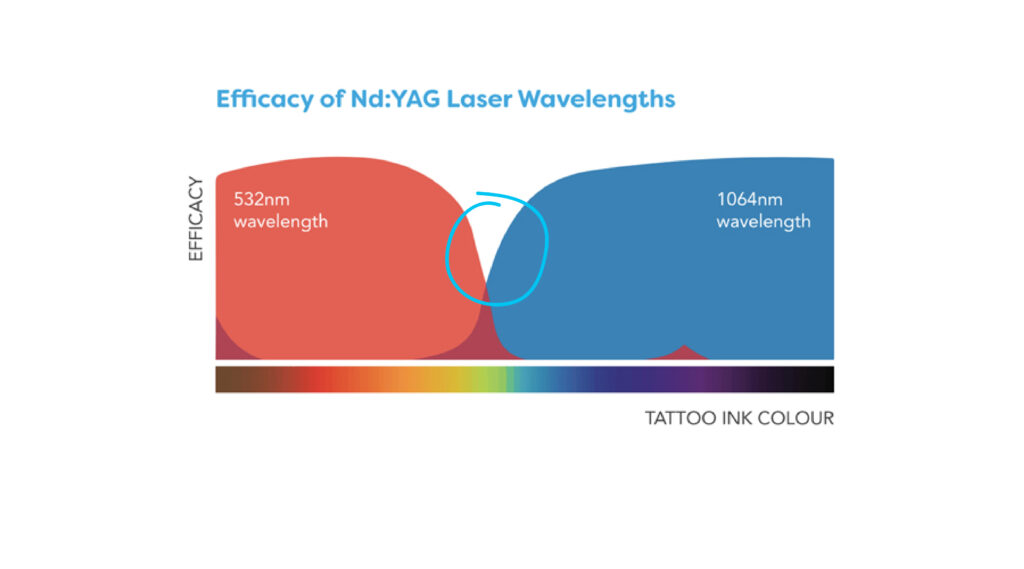
Green, light green, light blue, yellow, white – these colors are very poorly removed by laser. Therefore, when clients come to you with tattoos containing these colors, we can safely say that these colors can not be completely removed.
Lighten to cover – yes; Lighten to pale colors – yes, but not completely removed.
Other wavelengths of 755 nm Alexandrite Q-switched laser and ruby Q-switched 694 nm laser are used to work with such colors.
We discussed the wavelengths, let’s move on to the settings.
There are mainly 2 parameters in the settings
- Hz – the number of flashes per second. So, if you adjust 1 Hz, there will be 1 laser flash per second, 2 Hz – 2 flashes, etc. On high-quality lasers, the speed of flashes does not affect the efficiency and quality of work. It makes sense almost always to set the maximum speed of the flash except for those situations when we remove the permanent makeup on the eyelids (1-2 Hz is enough to control each flash). Why? Because we kind of impose flashes on each other. When you work with slow flashes, there are a lot of gaps between them, and at the same time, untouched pigment is left.
Either mJ or mV, or just from 0 to 100% – power adjustment (these options may be present on different models of lasers)
Let’s analyze at what distance from the skin it is best to work with a laser and what depends on this distance? Because this is a crucial point.
Have you ever done poker-work with a magnifying glass in sunny weather in your childhood?
There are magnifying glasses in the laser nozzles, but how do they work?
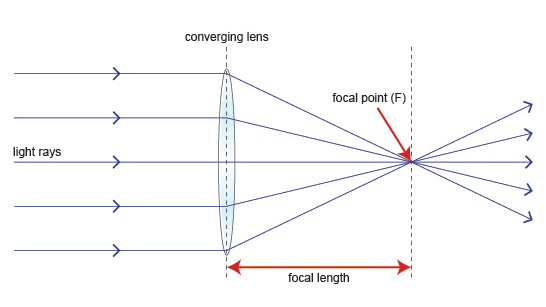
If you use a laser without a nozzle, the diameter of the laser beam will be almost the same regardless of the distance, as we know that the laser beam is not scattered. Therefore, there is a lens in the nozzles that refracts the beam, collects it at the focus point, and after the focus point scatters.
When we put the lens on our laser, there is a dependence of the spot diameter on the surface from the distance. If you put the lens closer, you will get the single spot diameter and if you raise the headpiece above, the spot diameter will start to decrease until a point of maximum focus (about 5-7 cm from the surface), and then begin again to increase. The maximum power is collected in the focus area and it is very easy to traumatize the skin and get a strong burn, scars, splashing blood) so I recommend working above the focus point and a spot diameter of 6-8 mm is the spot diameter that will ensure our safety and high efficiency
How to find the optimal distance from the skin for removal? In this case, we need to focus on the spot. I suggest you test your laser on paper before starting work with people)
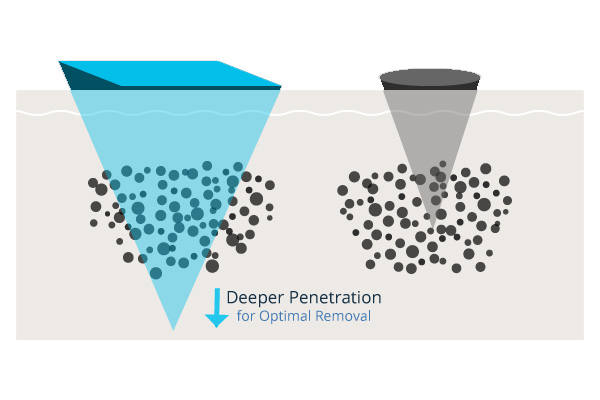
With sufficient power, the larger diameter of the spot penetrates deeper into the skin and effectively destroys the pigment.
This graph shows the dependence of the spot diameter and penetration depth.

Now let’s look at the simulation of focal distance
- There is strong destruction of the skin, it can end with bleeding, crusts, wounds. As a result, if the cleansing of the skin occurs, then it is due to the rejection of dead tissues along with a part of the pigment.
- Option – the least traumatic and most effective.
You need to decide how you will work – as in the first version or in the 3rd version. The main thing to get a spot diameter of 6-8 mm!
Here is a lifehack)
Cut small pieces of black and red, put them on the client’s skin before the procedure. Shoot at it, so you could find the necessary distance to the skin with the optimal diameter of the spot. Then you can start working.
What power to work with? I recommend you to start working at minimum capacity, 200-400 of millijoules.
The need for maximum energy occurs only in two cases.
- When you are already doing 5-8 sessions, gradually increasing the power and you just need it in order to finish off the pigment residues in the skin.
- The second point is when you work with a large tattoo surface with a spot diameter of not 6-8 mm, but 12-15 mm. You can increase power in proportion to the spot diameter.
Also, there are questions about how to determine the maximum and minimum laser power. It’s actually very simple. You can see two options in the settings: Hertz and millijoule or interest, etc. Raise the option of millijoules to a maximum value – this will be the maximum power of the laser. Usually the 1600-2000 millijoules. The minimum parameter is usually 200-400 MJ.
Shoot a laser on paper beforehand with different power and a different distance from the surface, so you will find the optimal spot diameter at different power.
I want to add some information about the colours. Sometimes we still have to work with a remover, because the laser can not affect some colors – white, beige, light green, etc. The remover does not have these problems because it affects chemically and it does not matter what color. But of course I recommend you first to do everything with a laser and if the laser can’t remove the rest, to carry out the procedure with the help of a remover.
The skin reaction to our exposure to laser should manifest itself in the form of moderate whitening of the skin, the so-called vacuolation of tissue. This usually occurs during the first 1-3 sessions, when the largest pigment granules are present in the skin. It appears due to the release of a huge amount of energy from the laser and dissolved gases in tissues such as oxygen, carbon dioxide, nitrogen is vacuolated into bubbles. It gives the whitening of the skin. Excessive energy gives a lot of bubbles and they increase the tissue in volume. The reaction is similar to the one when you open a bottle of mineral water and see how the air bubbles appear in the bottle) After 5-8 minutes it usually goes away, but there is a possibility of overheating. There will not be any bleeding immediately, but after a few hours, burns may form due to excessive accumulation of energy. The blacker the tattoo and the higher the power, the greater the chances of burns. Therefore, with such a saturated color, you must work carefully, especially on primary procedures.
Let’s now consider how not to remove and see the reaction of the skin.
Here is a real video made in a tattoo studio in Russia and is used as a promotional video.
The video shows that bleeding starts almost immediately. This should not be under any circumstances. It is very likely that this removal will result in the formation of scars. It is clearly seen that the removal is made in the focus of the laser beam with high power, plus the fact that the tattoo is black and this is the primary removal procedure.
Here is another example of how not to do.
In this video, there is no bleeding, but you can see how much the skin rises. After a few hours, there will be burns and the healing process will depend only on the skin, whether it can cope with healing without complications or not. In the latter case, scars will remain.
Why am I showing this? You should warn your customers that the removal does not take place in one procedure. Do not try to remove everything with maximum power, you can harm the customer and it will be your fault. If the client requires removal as soon as possible, in this case it is better to explain that this is not how we do it and most likely we are not suitable for you.
Quick disposal of pigment is not about laser removal.
There are questions about how much time should pass between sessions – the optimal time between laser removal procedures is 1.5 – 2 months. This is an average term which is an international standard. Since we only crush the pigment with a laser and the immune system removes this fragmented pigment from the body. The more time between sessions, the brighter the results get customers.
It is also worth remembering that after single laser exposure, the effect of tattoo lightening lasts up to 6-12 months. Only over time, the intensity decreases and to enhance this effect, we appoint a repeat procedure after 2 months.
Let’s take another moment. It happens that the artist uses two nozzles 1064 nm and 532 nm in one procedure. There is no limit in this case, but the logic should tell you that working with one nozzle we cause damage, then we take another 532nm and damage even more. I think that this is not worth doing. The procedure where two nozzles are used can be carried out when the colors fall into this spectrum.

If something is unclear, you can ask questions in the comments below. The answer can be found below the question, or use the forum. It is also available to you.
Now let’s move on to the next lesson and talk about the factors affecting the laser removal procedure.