
Lesson 3 – Full Procedure video with Description
Now we will watch the procedure of applying eyeshadows from the start to the end.
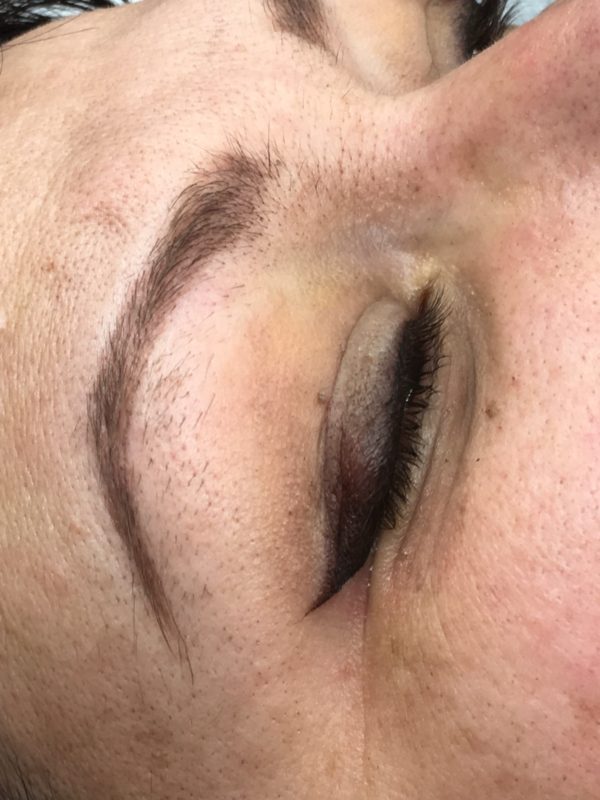
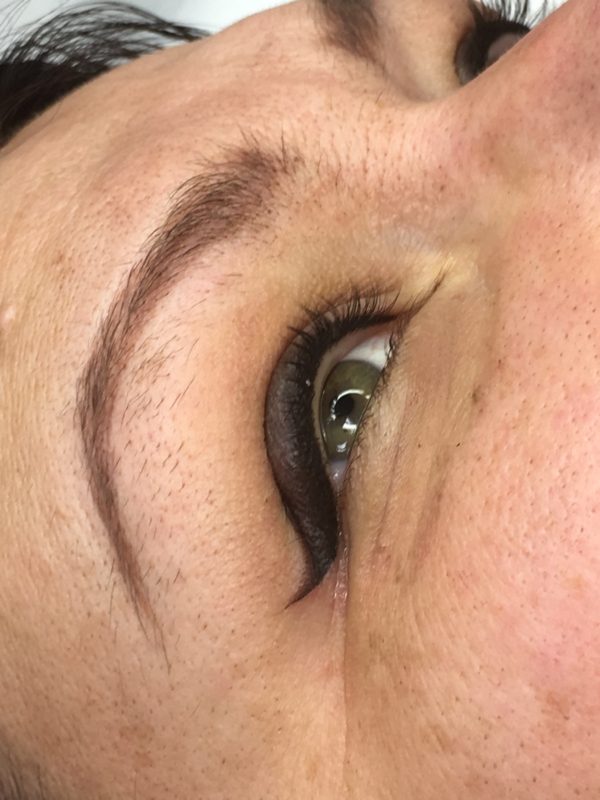
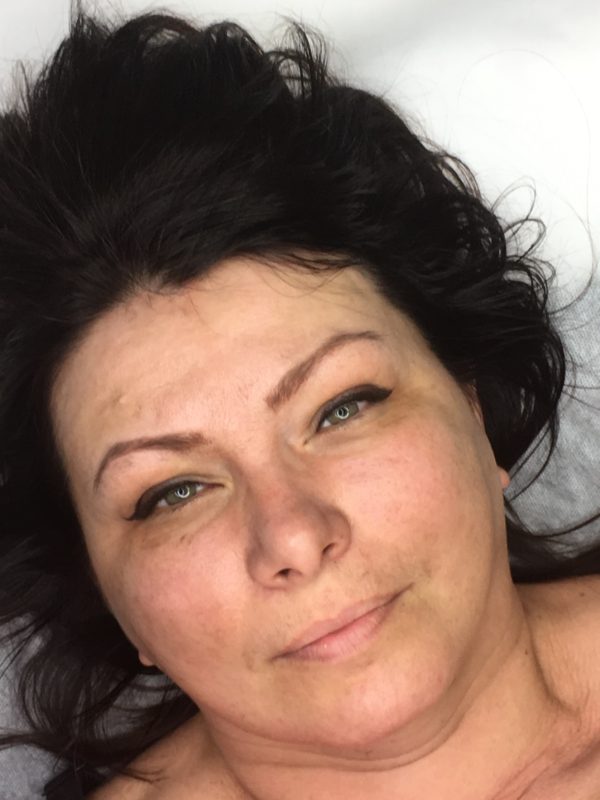
Here is the result immediately after the procedure
If you look at the stages of the procedure then we can divide them on:
1. Draw the eyeshadow on.
2. Fixing the drawing.
3. Apply the numbing solution around both eyes.
4. Implant the color in the intermittent space and the arrow.
5. Apply the numbing solution for both eyes.
6.The second pass of the liner and the arrow.
7. Apply a numbing solution.
8. Implant eyeshadows creating a smooth blend.
9. Numbing solution.
10. Cleansing of the skin area, prevention of chemical burn and edema.
So, let’s start with the first technique: LINE, or drawing a contour.
We need this technique to fix the sketch at the very beginning of the procedure and also to create a sharp edge of the arrow. For this, we need a machine for PMU and 1RL needle.
To implant an ideal contour we need to follow several rules:
- The angle between the machine and the skin should be as close as possible to 90 degrees.
- The hand should have stable support ( be placed on the face in order to avoid
handshaking)
- We must work with 1RL needle
- Work as superficially as possible (the deeply implanted pigment can cause pigment migration)
- Stretch the skin very well to prevent the needle from clinking against the skin folds.
- The drawn sketch clearly to follow the drawn line.
- Do not pass the same place twice this also leads to the spreading of the contour. the first pass must be as thin as a hair, then the second pass can be thicker if needed.
- The contour should start and end invisibly by creating a smooth gradient, any points and spots must be avoided.
The following exercise is the same as the contour and is its continuation. It is aim is working on the movement to complete the tail, we should work with a fast movement with acceleration on the very tail. if we make a quick line we ensure that the very end of a tail is as thin as possible.
The next exercise is aimed at getting the dense color. We need it to work over the liner and to create the eyelash enhancement line. This is the basic old school movement. The base of successful performance in technique is:
- Short, often repeated movements ( a large number of repetitions per unit area of the skin)
- Getting the maximum dense color after 1 pass is exactly what ensures the speed and efficiency of the work. The procedure is painful enough and it is better to finish it as quickly as possible.
- Superficial implantation of pigment into the skin, I remind you that on a surface the color looks more 3D like and if we implant the pigment deep into the skin the color will look flat and blue.
- Usage of warmest shades of dark colors balances the coldness of pigment at least a little after healing.
- The use of a 3 RL needle gives the dense and fast implantation of pigment, great retention, and a dense color as a result. But you can also use 1 acupuncture needle on a good type of skin. It has also proved itself well, however, you have to be very careful working on the thin skin, in this case, 5 or 7 RS needles will give a good surface color and they are easier to control the depth we work with. But it is more difficult to guarantee good retention, after the healing a lot of color goes away.
- Movements in this technique can be different, circular, zigzag, short semioval, the pendulum in one or both sides (we’ll talk about it in the online course about arrows). I prefer short ”pendulum” movements in one direction to myself as shown in a video.
- And as the skin of eyelids is very thin then it is much more efficient and easier to work at an angle of 45-60 degrees, sometimes even more but only with 1RL and 3RL needles. Using other needles with a larger number of pins it is better to keep the angle of 90 degrees.
- I use shaders in the middle of the eyeliner not reaching the very edge of the sketch, to make the edges of the arrows clearer you can use the 1 RL needle
- Aligning the eyeliner
Ok, let’s go to the next lesson