BROW MAPPING STEPS
Map your client laying down first. Then when you finished always check your mapping design when they are sitting upright!
It’s important to find the middle point between the eyebrows with a string as your guide.
Start marking the string from the inner corner of the eyes as a guide.
Then move a string to the outside corner of the nose to the brow bone to find the arch peek.
Make a diagonal mark on the right side of the face from the outside of the nose to the outer part of the eyes.
Move to the left corner of the eye and mark a string there.
Make a horizontal line at the bottom and the top of both brows.
Use a ruler of calipers to ensure that you measurements are on point.
Since we usually sleep on one side more than the other. Our face is asymmetrical in nature. Our eyebrows are sisters, not twins.
Don’t forget to sit your client upright. This way you will be double checking and making sure that you did your very best to find symmetry.
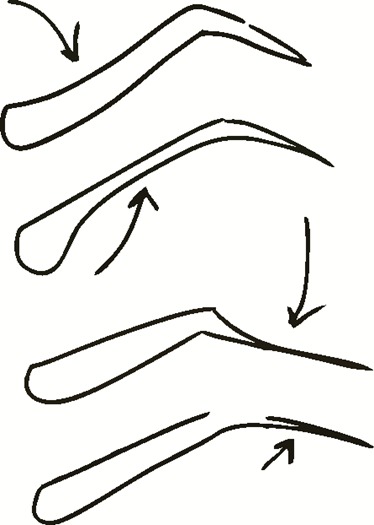
WHAT KIND OF EYEBROWS DOES NOT LOOK GOOD
The eyebrows that have band in them. If you clients wants any of them, I would let them know that we are not a good fit for each other. After all your clients are your walking marketing material. Doing a good work is very important for you and them!

BROW MAPPING NOT ALWAYS A GOOD FIT FOR HOODED EYES AND MATURE CLIENTS:
In this video my client has hooded eyelids. If we will mark the tail of the eyebrow according to the golden ratio rule. Her long tail of the eyebrow will pull her eyelid down and will make her eyes look sad and older. In order to help this situation from not happening. I decided to make her eyebrow shorter. This way we are creating a lifting effect to her eyes.
Please join to our support group in
WhatsApp app
and feel free to ask your questions
