Performing a Procedure of Microneedling
Remove the disposable tip with needles size #12 or #36 from a sterile packaging. We mostly work with size #12. All needling has to be disposable after one use.Place the tip into the head of the device. Ensure the device properly covered in a disposable plastic wrap and working efficiently.

Start working in rolling motion starting from the nose towards the cheeks. If blood occurs dap the blood with cotton pad dap in a saline solution. Roll the device in horizontal and vertical directions. You can work on all areas on the face. Switching the depth of the needle when needed. One of the most sensitive areas are lips. Placing the tongue inside the cheek under the nasal labial folds provide proper pressure for needle penetration.
It is important to achieve an even end point. If the needles got stuck to the skin, move away from the obstruction and start again.
Below the Eyes
Sweep away from the nose towards the cheek bones. Use 0.25 mm under the eye.
Line Lips
Start with 0.5 mm to see the pain tolerance of your patient. Ask you patient to place a tung under the upper and lower lips. This way the skin stretches properly and wrinkles flatten where the needle penetrates correctly.
The same method upplies for nasolabial and mental folds. Place a tong under the nasolabial fold in order to apply counter pressure beneath the area that is being treated.
Nose
It’s easier to create a bruise while working on the nose. Because the skin is very close to the bone and nose is not flat. Try to avoid the bridge of the nose. And work quick on those areas, since it more sensitive to pain. Start with 0.25 mm.
Front of the Ears
Many patiences are having wrinkles near the front of the ears. Pull the skin while needling and be careful. There are facial nerve endings are in that area. Start with 0.5 and build up slowly up to 1.5-2.00
Neck
Avoid the thyroid area. Stretch the skin between the thumb and finger to make it flat. Use 1-2 mm if needed.
Scars
Adjust the needle to 0.5mm. You may use 2-2.5 needles to the thick scars. Use circular motion movement for oval scars. You may need a stamping motion on the chicken pox scars.
Pinkiness to the skin at the end of microneedling treatment is what we are looking for.
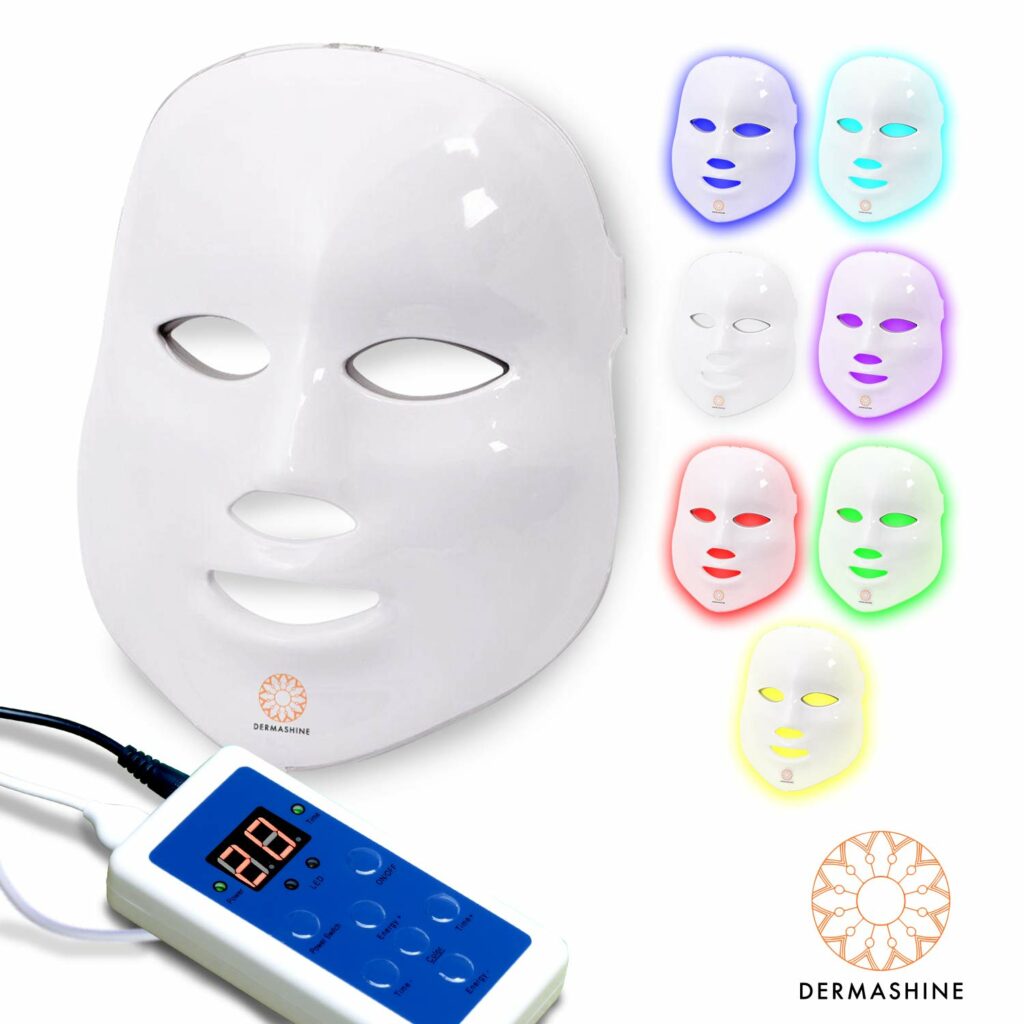
LED light therapy is also recommended after the procedure. First apply LED light for 15-20 minutes. Followed by serums after the LED light. This treatment reduces inflammation.
Products recommended for LED light therapy